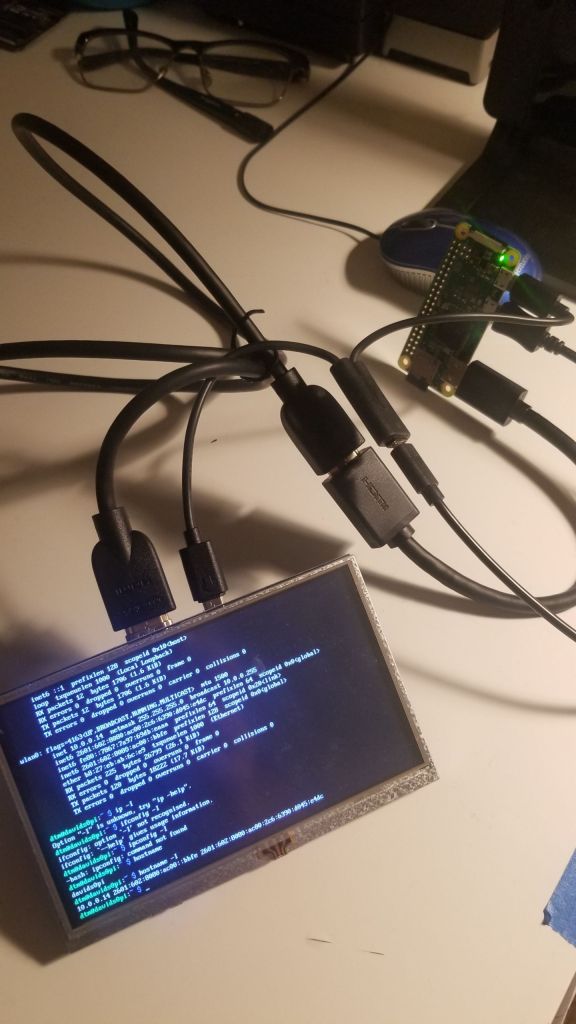
Today I worked on configuring my Raspberry Pi Zero, which has been tucked away in the recesses of my workarea, along with my 5″ Elecrow monitor. Here’s what I did to make the magic happen:
First, I downloaded the simple Raspbian OS 32-bit and flashed it to a 16gb SD card. Following this tutorial, I then added these lines of code to the config.txt file
# --- added by elecrow-pitft-setup ---
hdmi_force_hotplug=1
max_usb_current=1
hdmi_drive=1
hdmi_group=2
hdmi_mode=1
hdmi_mode=87
hdmi_cvt 800 480 60 6 0 0 0
dtoverlay=ads7846,cs=1,penirq=25,penirq_pull=2,-
speed=50000,keep_vref_on=0,swapxy=0,pmax=255,xohms=150,xmin=200,xmax=3900,
ymin=200,ymax=3900
display_rotate=0
# --- end elecrow-pitft-setup ---
The Zero booted right up, and since I selected the non-graphical OS (command-line only), I had to use these command-line commands to connect to wifi, following this tutorial:
sudo nano /etc/wpa_supplicant/wpa_supplicant.confcountry=US
ctrl_interface=DIR=/var/run/wpa_supplicant GROUP=netdev
update_config=1
network={
ssid="MyWiFiNetwork"
psk="aVeryStrongPassword"
key_mgmt=WPA-PSK
}Then I rebooted, and the Zero was connected to Wi-fi. Much easier than I had expected!
sudo rebootHere’s a nice guide that I found for configuring your OS before flashing so you can easily go headless.
It was great practice to get the Zero up and running, but I realized that I wanted to work with the Arduino IDE and/or CLI to directly control an Arduino(s) from one of the Raspberry Pis. So, back to the drawing board- this time I installed the Raspbian 32-bit OS with GUI to the SD card and loaded that up to my Raspberry Pi 3B. This makes for a spacious workspace compared to the Zero- four USB ports, full-size HDMI port, and those GPIO pins already with headers on them. Those will come in useful.
First things first: after installing the OS, I created a SSH connection so I could access the pi in a headless configuration. I downloaded the Arduino package for a 32-bit Linux distro here: https://downloads.arduino.cc/arduino-1.8.19-linux32.tar.xz
On the Pi, I was able to download that package directly, after sudo update and sudo upgrade:
wget https://downloads.arduino.cc/arduino-1.8.19-linux32.tar.xzI unpacked the package:
tar -xf arduino-1.8.19-linux32.tar.xzand then followed Arduino’s how-to install on a Linux here. This turned out to be complicated and not the best solution (just my experience!)
All of which turned out to…not work. Perplexed, I found this tutorial, wherein you just download the IDE directly from the raspberry pi’s terminal – yep, just a single line of code. Here’s the tutorial, and here’s the line:
sudo apt-get install arduino
