In this post I’m going to be following along with the book ‘Terraform: Up and Running 3rd ed’, chapter 2 – Getting Started with Terraform. I found the first chapter to be really great because it gave a 1000′ foot perspective of where Terraform fits in the IaC world, how it compares to other tools, best usage cases for it. I’d felt unclear around how CF, Ansible, Chef, Puppet, K8, and other tools fit it, and Terraform along with it. From my understanding, Terraform is a great open-source tool for building out infrastructure, while Docker is a good (growing, and popular) tool for not only configuration (Chef and Puppet not so much anymore?). I’m diving deep into learning cloud infrastructure (Ec2, VPC, etc), so it makes sense to learn Terrraform, and then build Docker on top of that.
I’m using AWS because it is so popular, offers a wide-range of services, and also offers a Free Tier to explore and learn. First, I created a non-root user account using IAM, setting an IAM Policy that would allow what I needed to be done (AdministratorAccess).
Next: installed Terraform onto my system OS:
$ brew tap hashicorp/tap
$ brew install hashicorp/tap/terraform
Having run that, I entered $ terraform to get output of command options. It is successfully installed!
This has to be done every shell session, using the key:value ( access key id: secret access key) obtained upon creating the IAM user:
$ export AWS_ACCESS_KEY_ID=(your access key id)
$ export AWS_SECRET_ACCESS_KEY=(your secret access key)
Deploying a Single Server
Terraform code is written in the HCL language, which is proprietary and has an extension of .tf
It is a declarative language, so my goal will be to describe the infrastructure that I want, and Terraform will figure out how to create it. Terraform can work with many providers besides AWS, including Azure, Google Cloud, and more.
First, I crreated an empty folder and put a file in it named main.tf which contained:
provider "aws" {
  region = "us-east-2"
}
The general syntax for creating a resource in Terraform is:
resource"<PROVIDER>_<TYPE>" "<NAME>"{[CONFIG...]}
where PROVIDER is the name of a provider (e.g., aws), TYPE is the type of resource to create in that provider (e.g., instance), NAME is an identifier you can use throughout the Terraform code to refer to this resource (e.g., my_instance), and CONFIG consists of one or more arguments that are specific to that resource.
resource "aws_instance" "example" {
  ami           = "ami-0fb653ca2d3203ac1"
  instance_type = "t2.micro"
}
This uses an AMI ID for the us-east-2 region, and an instance type that part of the AWS Free Tier.
Then, in the folder I had crreated, I entered $ terraform init” and got this output:
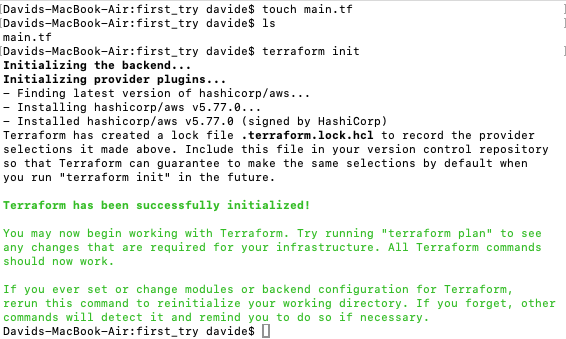
This command, $ terraform init – you need to run init anytime you start with new Terraform code. It’s safe to run init multiple times (the command is idempotent). It tells Terraform to scan the code, figure out which providers you’re using, and download the code for them.
Next, $ terraform plan
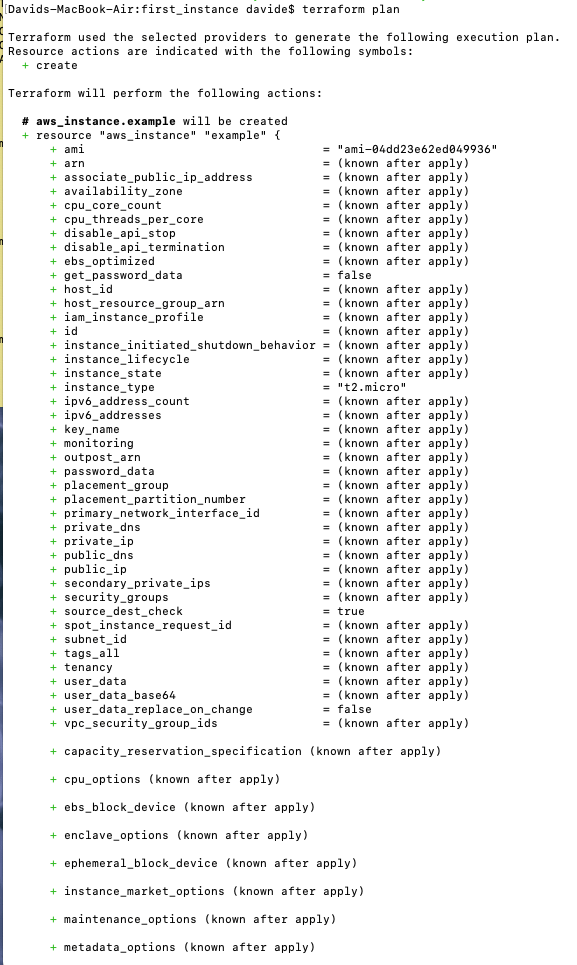
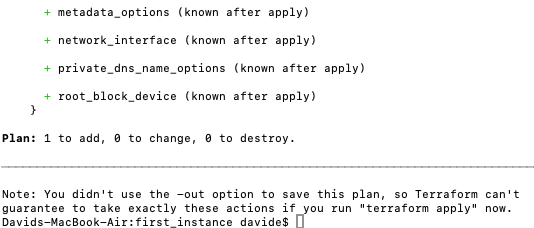
This shows you what Terraform will do, and the + signs indicate what will be added. Now, let’s actually apply these changes with $ terraform apply
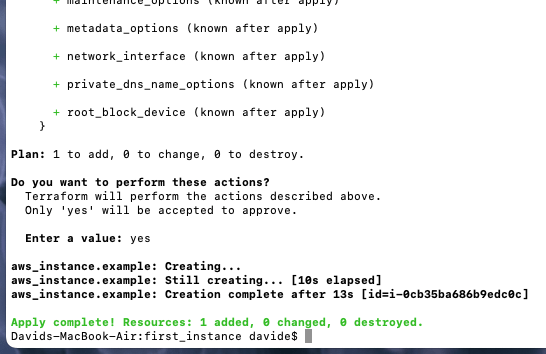
Now, in AWS console I head over to view the EC2 instances running and sure enough, there’s the t2.micro we just created:

Let’s add a name to that! Let’s modify the Terraform code:
provider "aws" {
  region = "us-west-2"
}

resource "aws_instance" "example" {
  ami           = "ami-04dd23e62ed049936"
  instance_type = "t2.micro"

  tags = {
    Name = "terraform-example"
  }
}
Now, back in the console, we see that the name has been added:

Deploying a Single Web Server
I’m going to be learning Django in the near future, and actually am working on Flask right now, so this might be incorporated soon, but for now, a simple http server will be used.
Let’s update the main.tf code:
provider "aws" {
  region = "us-west-2"
}

resource "aws_instance" "example" {
  ami           = "ami-04dd23e62ed049936"
  instance_type = "t2.micro"

  user_data = <<-EOF
              #!/bin/bash
              echo "Hello, World" > index.html
              nohup busybox httpd -f -p 8080 &
              EOF

  user_data_replace_on_change = true

  tags = {
    Name = "terraform-example"
  }
}
This added code is a Bash script that writes the text “Hello, World” into index.html and runs a tool called busybox (which is installed by default on Ubuntu) to fire up a web server on port 8080 to serve that file. When you launch an EC2 Instance, you have the option of passing either a shell script or cloud-init directive to User Data, and the EC2 Instance will execute it during its very first boot. You pass a shell script to User Data by setting the user_data argument in your Terraform code, like I did here.
We have to adjust the security group to allow incoming calls on port 8080 though! So wee create a security group and reference that security group by its id whenc building the EC2 instance:
provider "aws" {
  region = "us-west-2"
}

resource "aws_instance" "example" {
  ami           = "ami-04dd23e62ed049936"
  instance_type = "t2.micro"
  vpc_security_group_ids = [aws_security_group.instance.id]

  user_data = <<-EOF
              #!/bin/bash
              echo "Hello, World" > index.html
              nohup busybox httpd -f -p 8080 &
              EOF

  user_data_replace_on_change = true

  tags = {
    Name = "terraform-example"
  }
}

resource "aws_security_group" "instance" {
  name = "terraform-example-instance"

  ingress {
    from_port   = 8080
    to_port     = 8080
    protocol    = "tcp"
    cidr_blocks = ["0.0.0.0/0"]
  }
}
I’m going to quote from the book here around how to create that security group id:
One particularly useful type of expression is a reference, which allows you to access values from other parts of your code. To access the ID of the security group resource, you are going to need to use a resource attribute reference, which uses the following syntax:
<PROVIDER>_<TYPE>.<NAME>.<ATTRIBUTE>
where PROVIDER is the name of the provider (e.g., aws), TYPE is the type of resource (e.g., security_group), NAME is the name of that resource (e.g., the security group is named "instance"), and ATTRIBUTE is either one of the arguments of that resource (e.g., name) or one of the attributes exported by the resource (you can find the list of available attributes in the documentation for each resource). The security group exports an attribute called id, so the expression to reference it will look like this:
aws_security_group.instance.id
Having added the security group code, let’s run $ terraform apply again:

This is just a snippet, but it does show that the EC2 instance will need to be replaced – why? Because we had set user_data_replace_on_change = true, and we had changed the user data, so….Here we see the instance being shut down after I approved the changes to be made:

Now we see the new and improved instance spinning up, while the original continues towards being terminated.

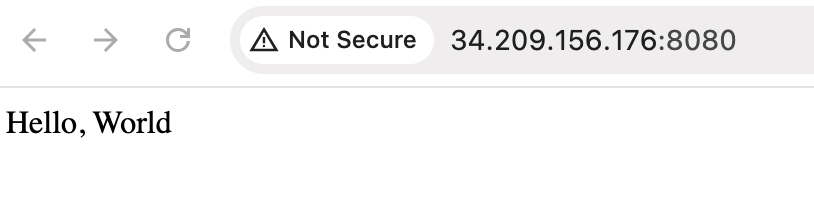
Now, after the instance has had a chance to spin up, I can go to port 8080 on the instance’s public Ipv4 IP address and see the index.html file info:
Due to security considerations, an EC2 instance in production environments should not be accessible like this- instead, a load balancer and private subnets should be used, reverse proxy.
In the main.tf file, we repeated the usage of port 8080, both in the user_data section and also when defining the security group. It’s best practices to not repeat data like that, instead prefering a single source of truth, so utilizing Terraform’s input variables is something I want to look at – I’m going to create a separate post around this, following the book’s tutorial, around crreating a configurable server…
