In a previous post I manually spun up an EC2 instance and then installed and configured an Apache server and MariaDB to run a WP instance. It was useful for learning purposes, and as a reference of the benefits of automation!
In this post, I’m going to be baking an AMI image, that is, creating an AMI image of an EC2 instance that has been configured to just the way that I like and then creating an AMI from that.
First, spin up an EC2 instance and connect to it, accessing the terminal. Let’s see up env variables to be used in the config:
# DBName=database name for wordpress
# DBUser=mariadb user for wordpress
# DBPassword=password for the mariadb user for wordpress
# DBRootPassword = root password for mariadb
Then install system software, including web and DB:
sudo dnf install wget php-mysqlnd httpd php-fpm php-mysqli mariadb105-server php-json php php-devel -y
set the server and Db to start and restart if stopped:
sudo systemctl enable httpd
sudo systemctl enable mariadb
sudo systemctl start httpd
sudo systemctl start mariadb
set MariaDB root password:
sudo mysqladmin -u root password $DBRootPassword
Copy WP files into apache root web folder:
sudo wget http://wordpress.org/latest.tar.gz -P /var/www/htmland then we un-compress the files, move them into the right place, and clean up the files (remove the downloaded, un-needed files):
cd /var/www/html
sudo tar -zxvf latest.tar.gz
sudo cp -rvf wordpress/* .
sudo rm -R wordpress
sudo rm latest.tar.gz
Time to configure WP. Start with copying the sample config file to the one used by SP, then substitute essential values using the variables we created at the very start:
sudo cp ./wp-config-sample.php ./wp-config.php
sudo sed -i "s/'database_name_here'/'$DBName'/g" wp-config.php
sudo sed -i "s/'username_here'/'$DBUser'/g" wp-config.php
sudo sed -i "s/'password_here'/'$DBPassword'/g" wp-config.php
sudo chown apache:apache * -R
and then create WP database using variables again:
echo "CREATE DATABASE $DBName;" >> /tmp/db.setup
echo "CREATE USER '$DBUser'@'localhost' IDENTIFIED BY '$DBPassword';" >> /tmp/db.setup
echo "GRANT ALL ON $DBName.* TO '$DBUser'@'localhost';" >> /tmp/db.setup
echo "FLUSH PRIVILEGES;" >> /tmp/db.setup
mysql -u root --password=$DBRootPassword < /tmp/db.setup
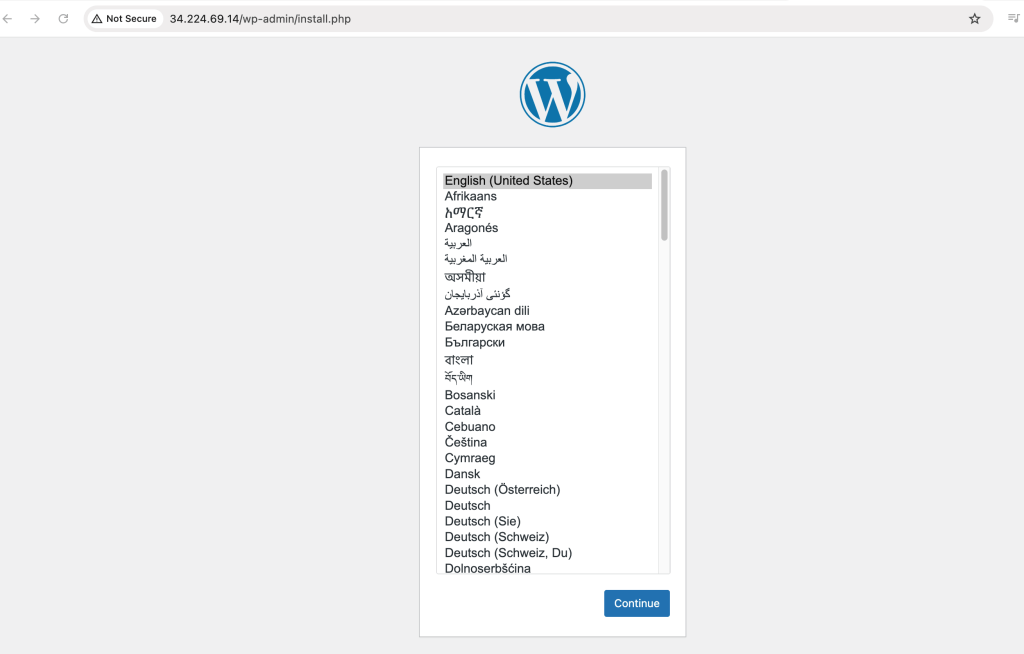
sudo rm /tmp/db.setupand grab the instance IPv4 IP address and open up browser with that:

Success!
Time to create an AMI. First, let’s install a useful package, cowsay:
sudo dnf install -y cowsayWe’re going to create a file that greets a user when they connect to the ec2 instance:
sudo nano /etc/update-motd.d/40-cow

# and within that file:

#!/bin/sh
cowsay "Amazon Linux 2023 AMI - Greetings!"
Make sure file permissions give access and then force update and reboot:
sudo chmod 755 /etc/update-motd.d/40-cow

sudo update-motd
sudo reboot
This time, when I connect to the EC2 instance, look at the nice welcome I receive! 🙂
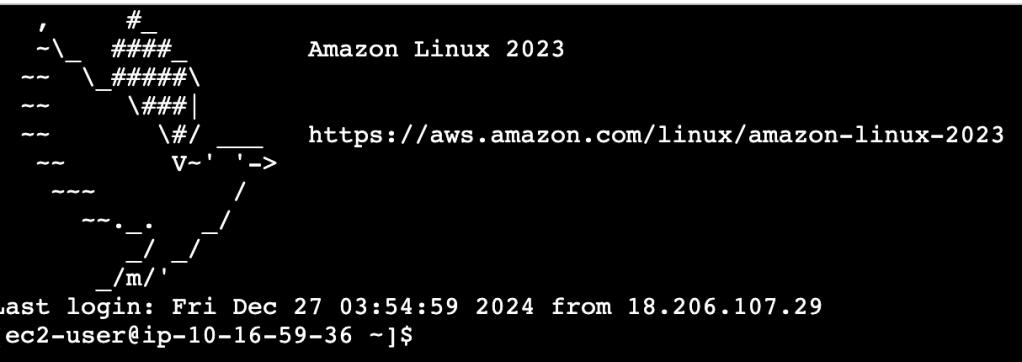
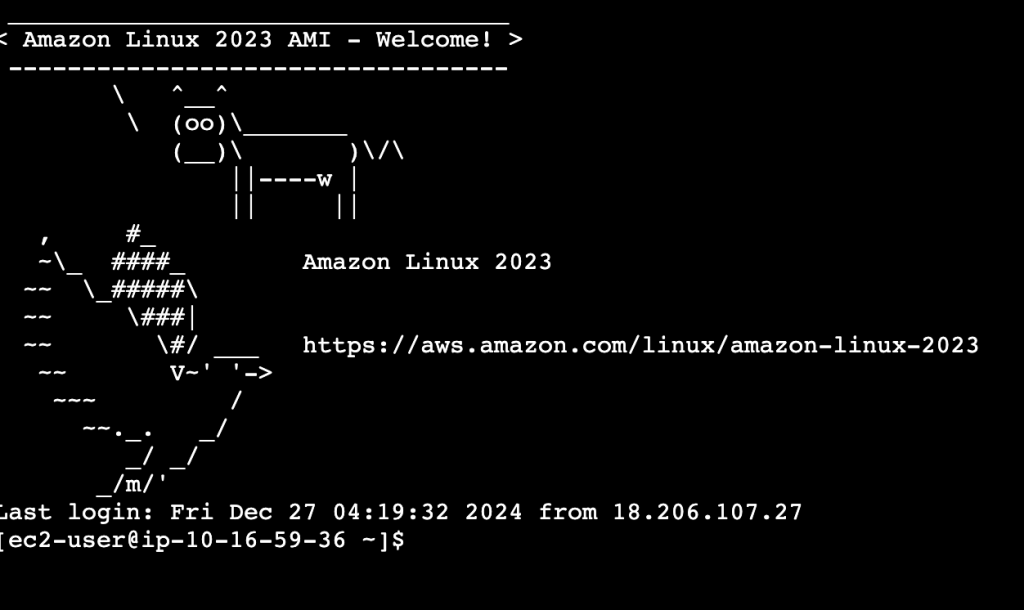
Hmm, that didn’t actually work as expected! I re-ran the code and this looks better!
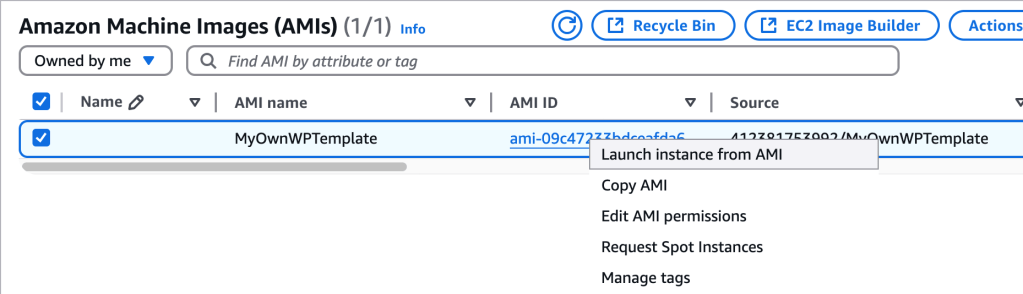
Okay, this oks good. Let’s capture this! So, first step is to shut down the instance, and save a snapshot. This AMI captures all the configuration of the instance and the application installation.
I launched this into a VPC, subnet that I had created earlier, and attached a SG that I had created earlier too. Then, I use Instance Connect to connect to the EC2 instance:
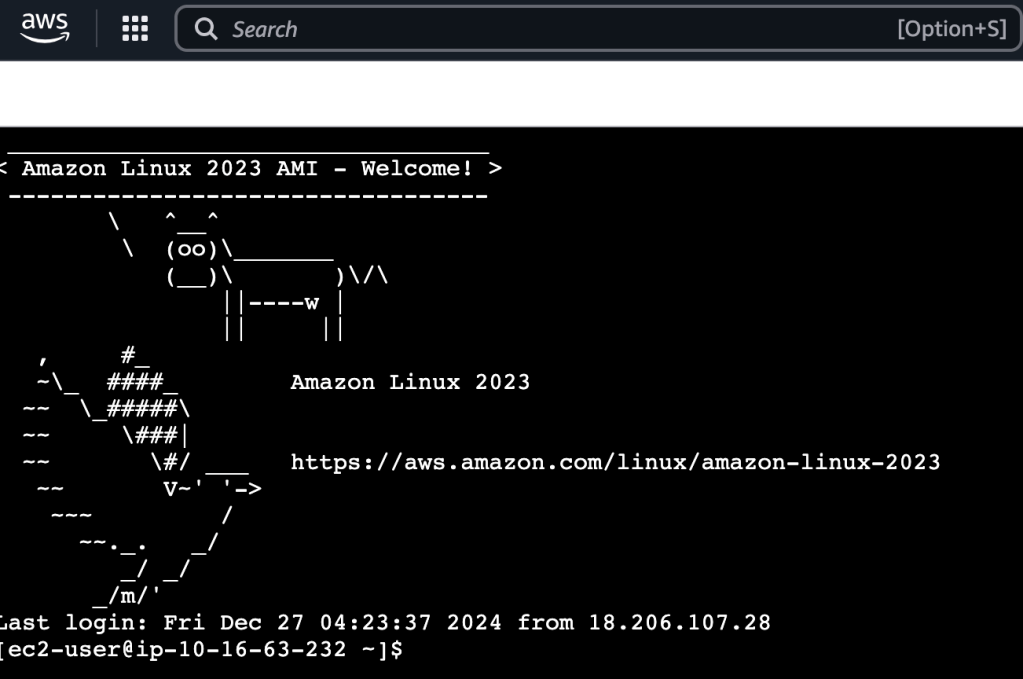
And there’s our happy cow greeting just like we had configured!
And then going to the public IPv4 IP address attached to the EC2 instance in the browser brings us to the WordPress installation page. Nice!
In this exercise, I (again) configured an EC2 instance to run a WordPress site, but this time I added some bells and whistles to get it to a nice state…and then captured that beautifulness with a snapshot.
I was then able to spin up a different EC2 instance using that AMI, which definitely shows the benefits of some of these automation tools!
